

In Part 1 we just walked around. Everything was public, and you were a visitor with nothing to change. Now we make a spot that is actually yours. This is the part where Harbor stops being something you read and starts being something you use, because once you own a project you can push images to it, set its rules, and invite people in. The good news is that making one takes about thirty seconds.
Why you need your own project
On a shared registry you can open any public project and read it, but you cannot push anything into it or change a single setting, because none of it belongs to you. To do real work you need a project where you are the admin. So the very first hands-on step, before pushing images or anything else, is to make your own. Think of it like getting your own folder on a shared drive. Everyone can see the common folders, but you need one of your own before you can start dropping files in.
Public or private?
When you make a project, the dialog gives you one real choice: a single checkbox labelled Public. Here is what it does, in plain terms.
| If the Public box is | Your project is | Which means |
|---|---|---|
| Unticked (the default) | Private | Only you and people you add can see it or pull from it. |
| Ticked | Public | Anyone can pull images from it without even logging in. |
You can flip this later from the project settings, so there is no pressure to get it right now. For a sandbox you are just learning in, Private is perfectly fine, and that is what I left mine as.
Making the project
Here is the whole thing, start to finish.
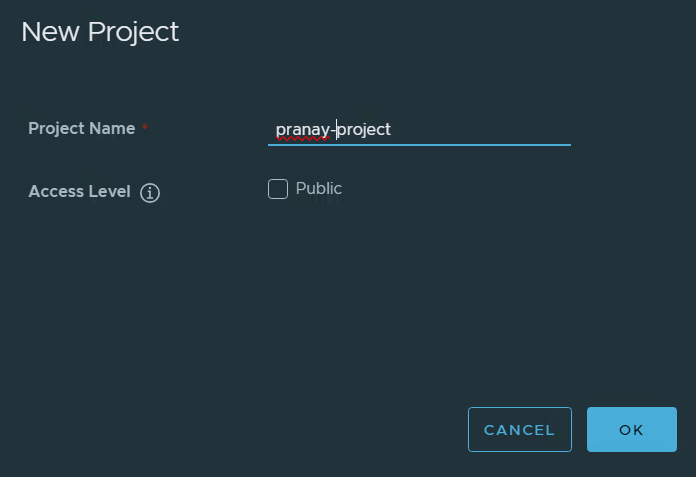
- On the Projects page, click New Project in the top left.
- Type a name. Keep it lowercase with no spaces. I used
pranay-project. - Decide on the Public checkbox. I left it unticked, so my project is Private. That is the default and it is fine for practice.
- Click OK. That is it. Your new project appears in the list.
A tour of every tab
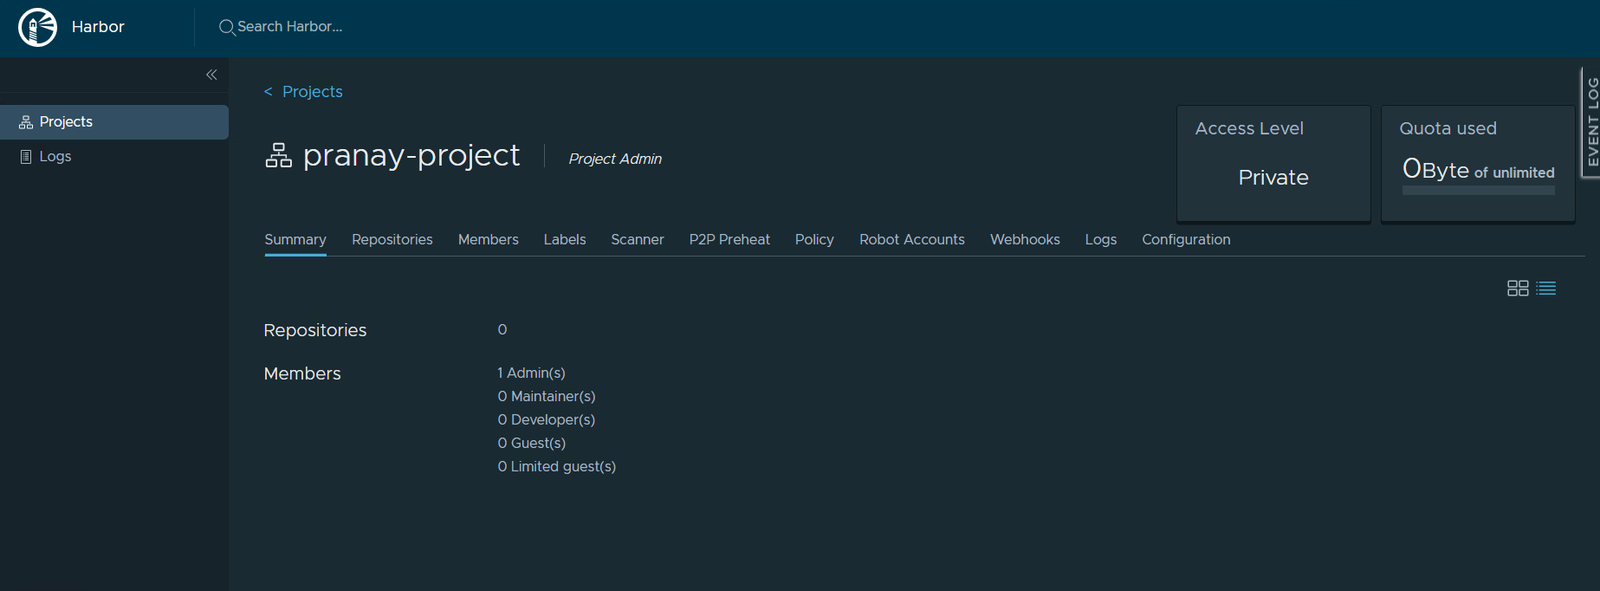
Click your new project to open it, and the first thing you will notice is a long row of tabs across the top, more than the public projects in Part 1 ever showed you. They appear because you are the admin here. You will not touch most of them today, but it helps to know what each one is for, so here is the whole row, one at a time. Notice on every screen that the project reads Private, with the Project Admin role next to the name. Those are the signs that this one is yours.
Summary
The project at a glance: how many images it holds, and a breakdown of its members by role. Right now that is zero images and a single admin, you.
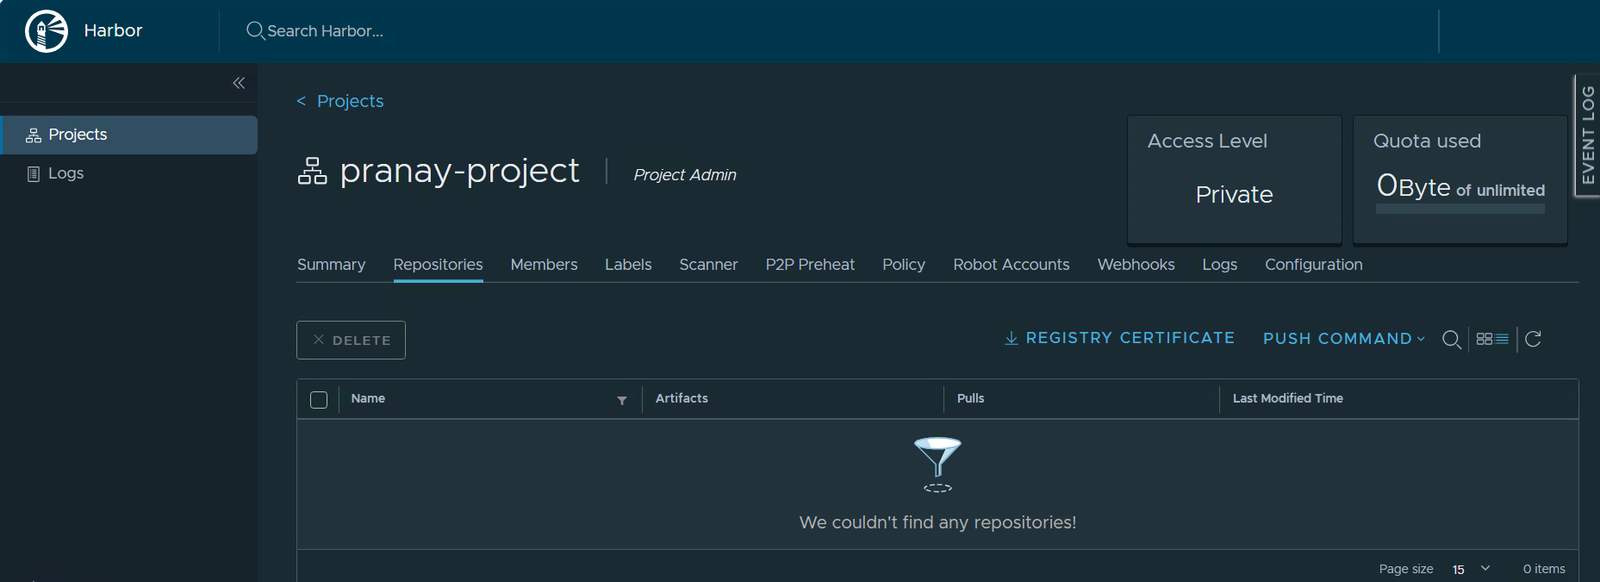
Repositories
The list of actual images in the project. It is empty until you push your first one, which is the whole job of Part 3.
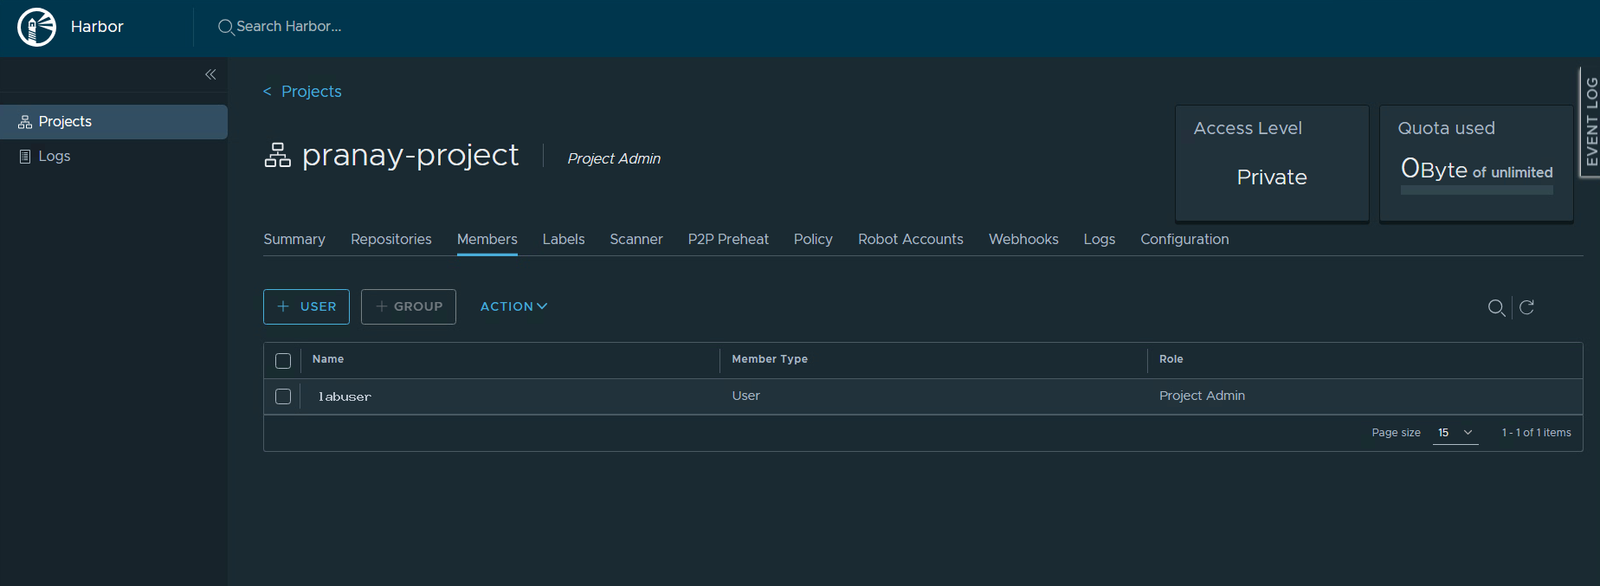
Members
Who can get into the project and what they are allowed to do. So far it is just you, with the Project Admin role. This is where you would add teammates later as Guest, Developer, or Maintainer.
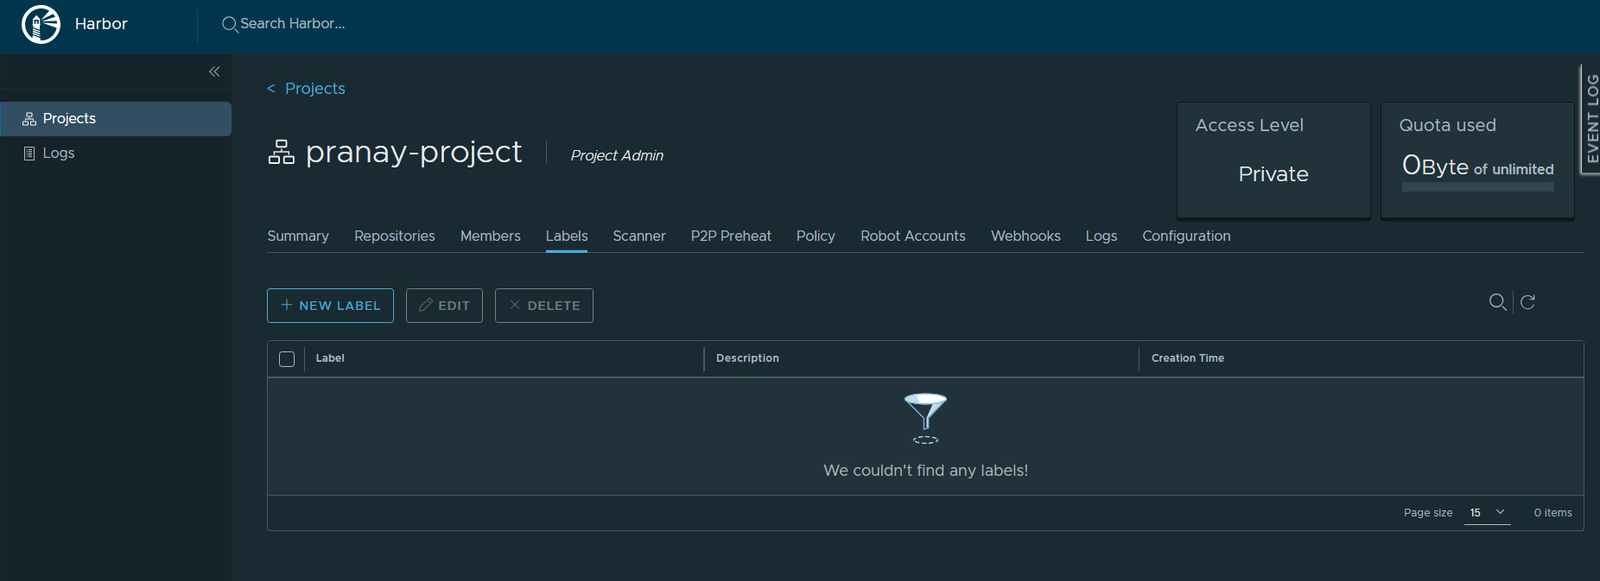
Labels
Custom tags you can stick on images to group and filter them, for example marking some as approved or as test builds. None yet.
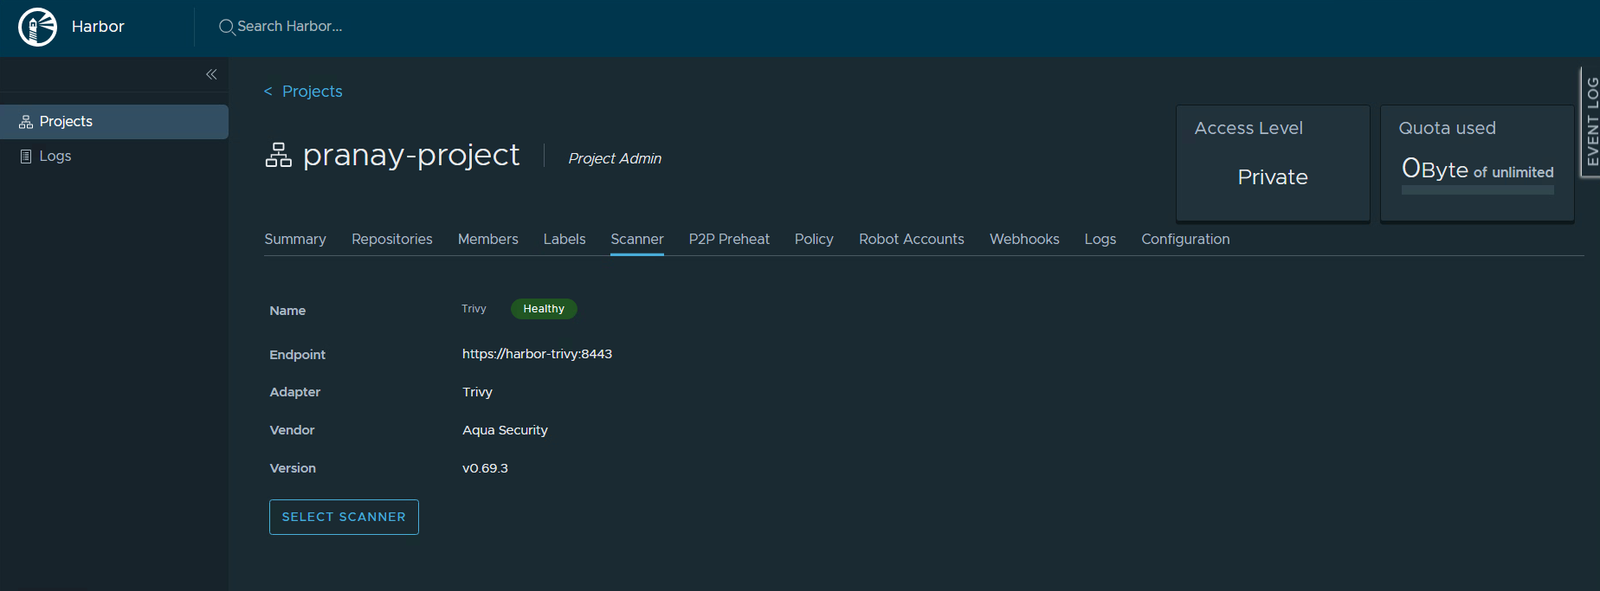
Scanner
The image scanner attached to this project, here Trivy, with a Healthy badge. This is the engine behind the security checks we put to use later in the series.
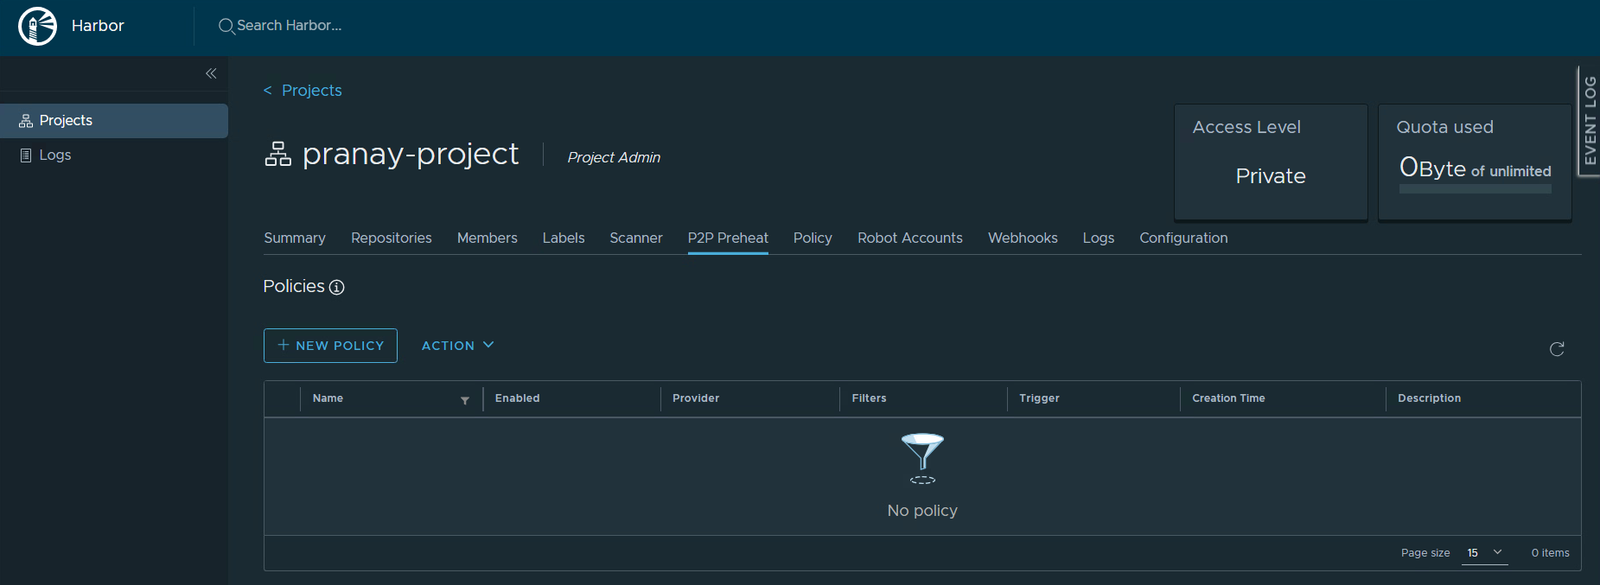
P2P Preheat
An advanced speed feature. It pushes images out to your nodes ahead of time so a big pull feels instant when it is actually needed. Empty for now, and safe to ignore while you are learning.
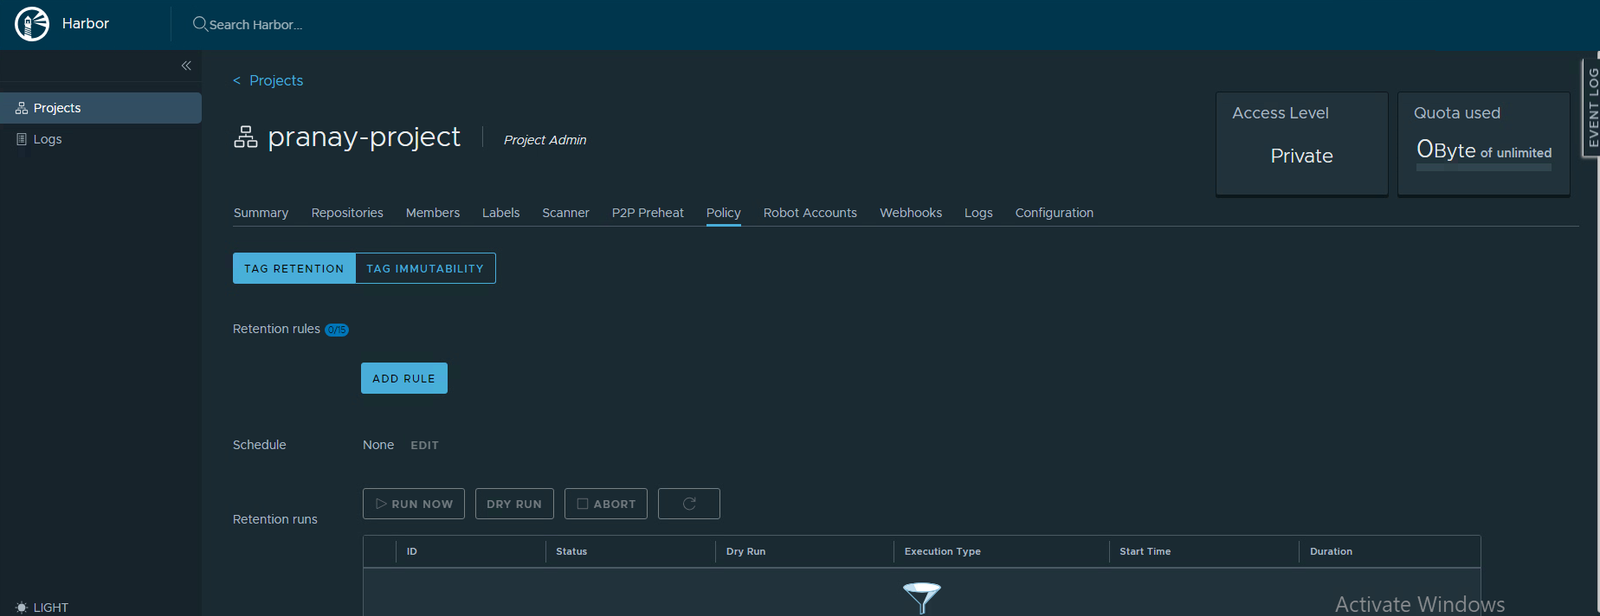
Policy
Two housekeeping rules live here. Tag retention controls how many versions of an image to keep, and tag immutability locks a chosen tag so it cannot be overwritten. We set both in a later part.
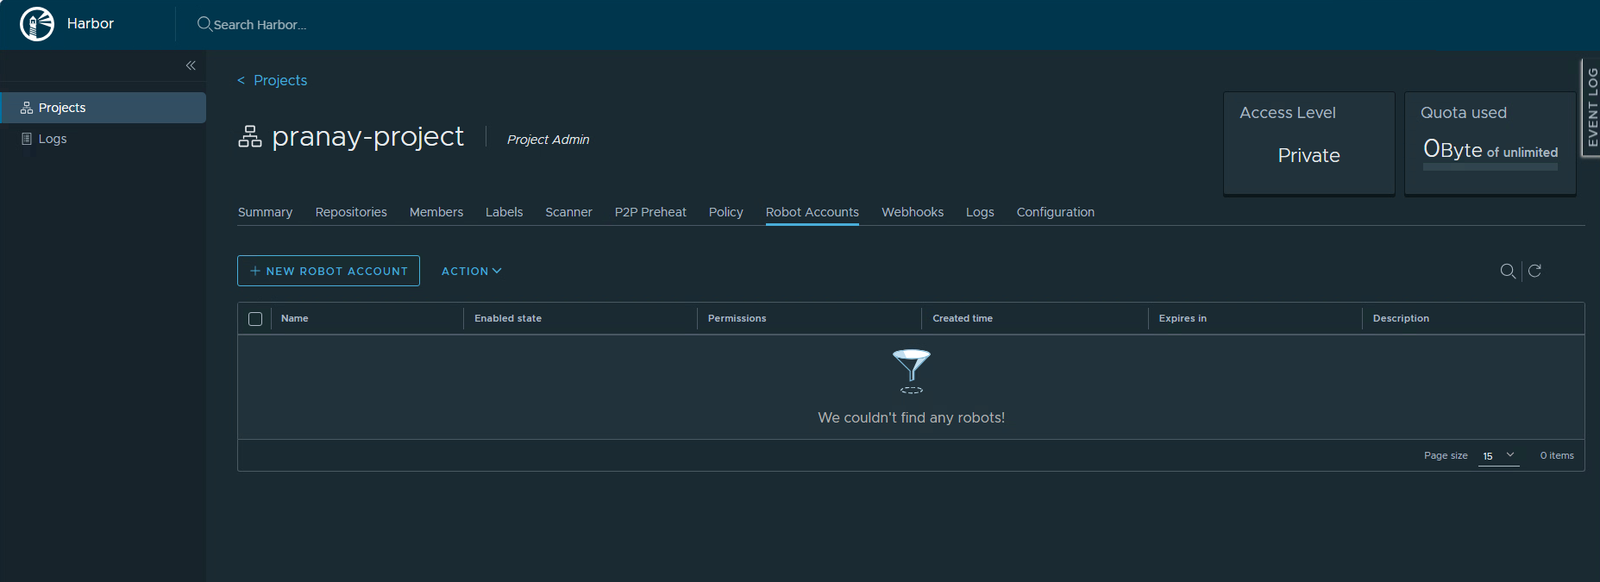
Robot Accounts
Service accounts for automation. Rather than putting your own password into a script or pipeline, you create a robot with just the permissions it needs. None yet.
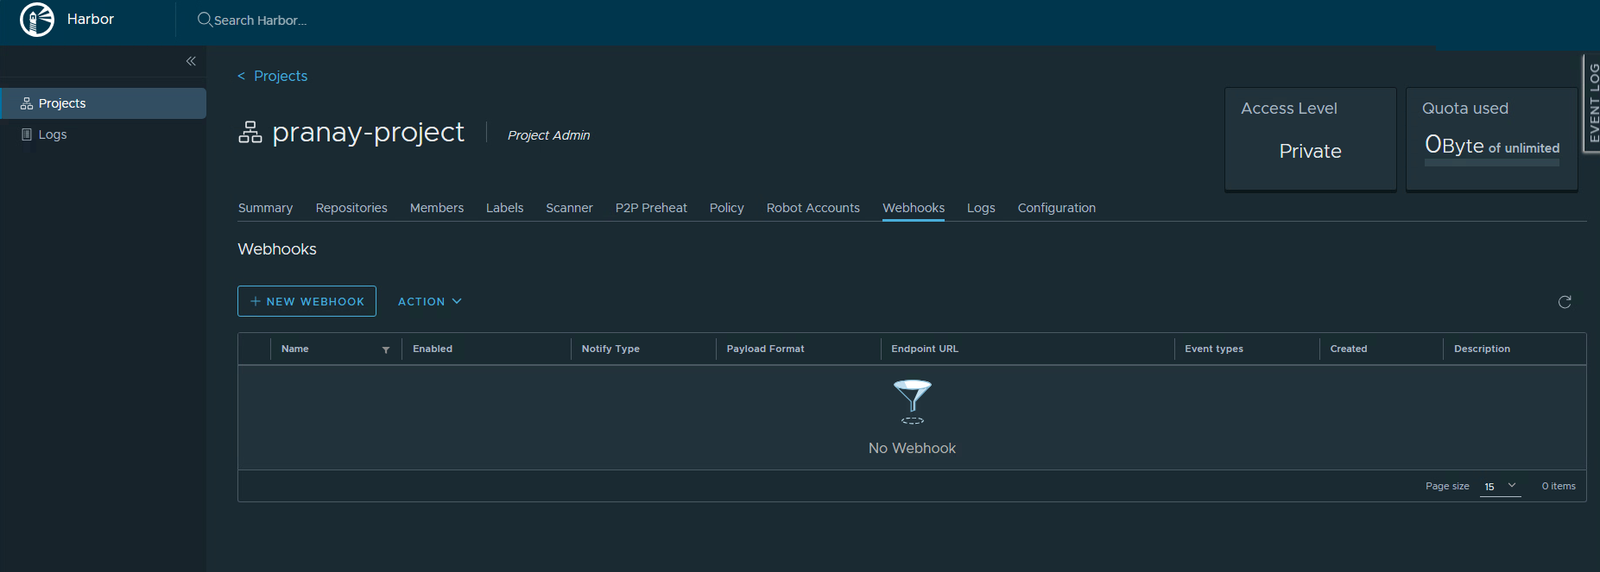
Webhooks
Tell another system when something happens in the project, like an image being pushed or scanned. Handy for CI pipelines and chat notifications. None yet.
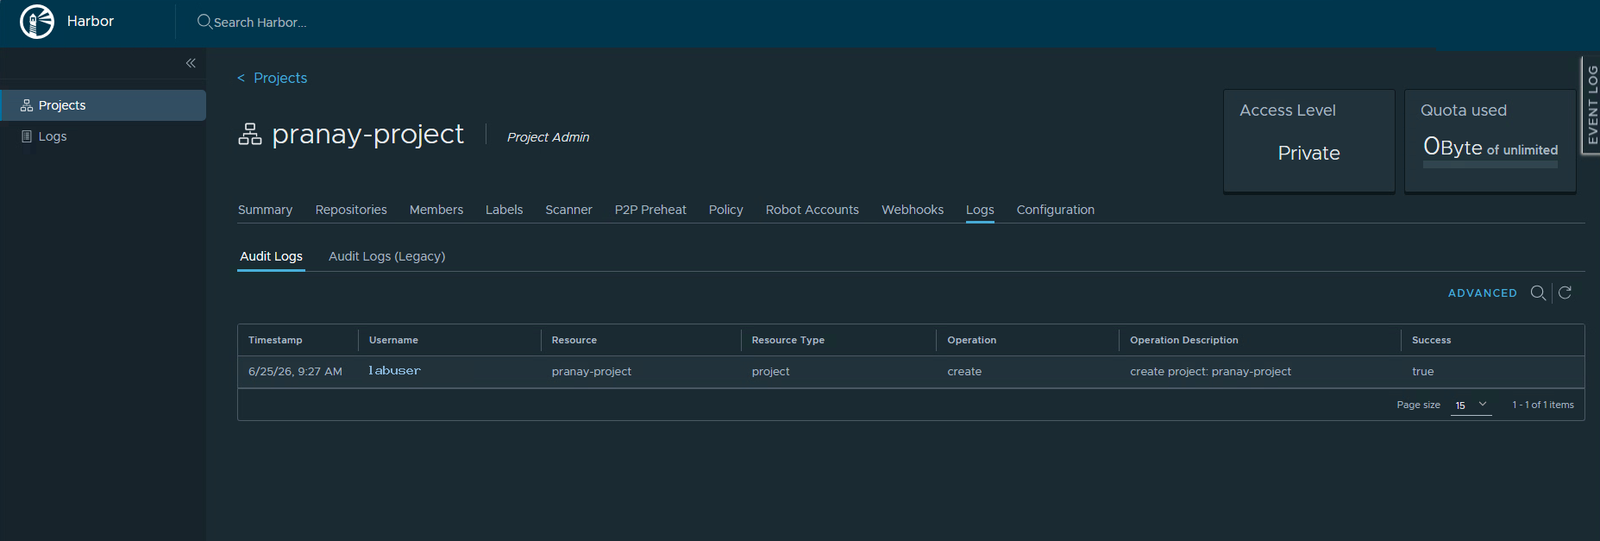
Logs
The project’s own audit trail. It already has one entry: you creating the project a moment ago. Every push, pull, and change will land here.
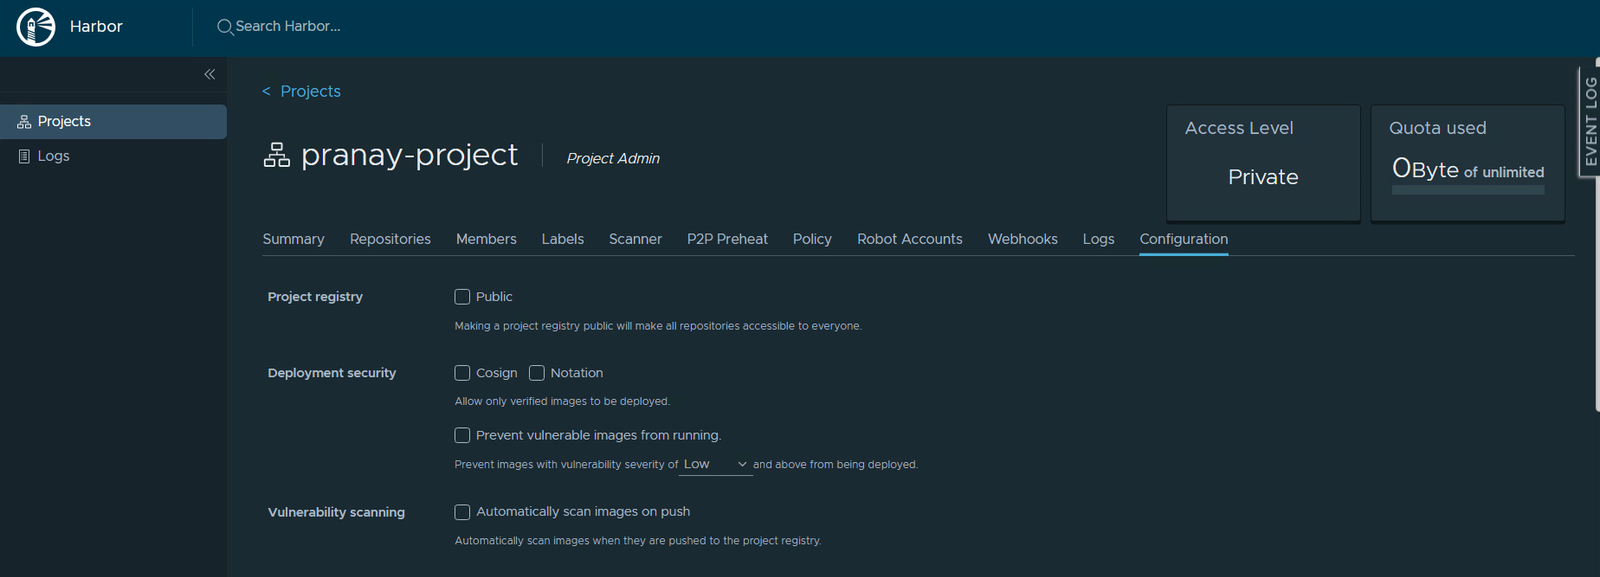
Configuration
The project’s rule book: public or private, whether to block risky images, whether to scan automatically on push, and more. Worth knowing it is here. We will set these properly later in the series.
What you have now
It does not look like much, an empty project with a name. But owning it is what unlocks everything ahead. From here you can:
- Push your own images into it.
- Add other people and decide what each of them can do.
- Set rules, like how many versions to keep or whether to block risky images.
None of that was possible as a visitor. Now it is.
Next part
Part 3: log in from your machine and push your very first image into this project. This is the one that makes the whole registry idea finally click.
Harbor for Beginners, Part 2 of 12. Product names belong to their owners. The names and IDs in the screenshots come from a lab and are stand-ins.
About The Author







 DrJha
DrJha