

Every image you have looked at so far carried a little Not Scanned label, and now we clear it. This is where Harbor earns its keep for a lot of teams: it can check an image for known security problems with one button, and tell you exactly what it found. Let us run that scan and read what comes back.
The scanner is already on
You do not have to set anything up. Back in Part 2 you saw the Scanner tab showing Trivy with a green Healthy badge. Trivy is the engine that does the actual checking, comparing the software inside your image against public databases of known vulnerabilities, called CVEs. It is already wired in, so you just press the button.
Run the scan
Open your project, click into hello-world, and go to the Artifacts tab. Tick the checkbox next to the artifact, then click Scan Vulnerability. That is the whole action.
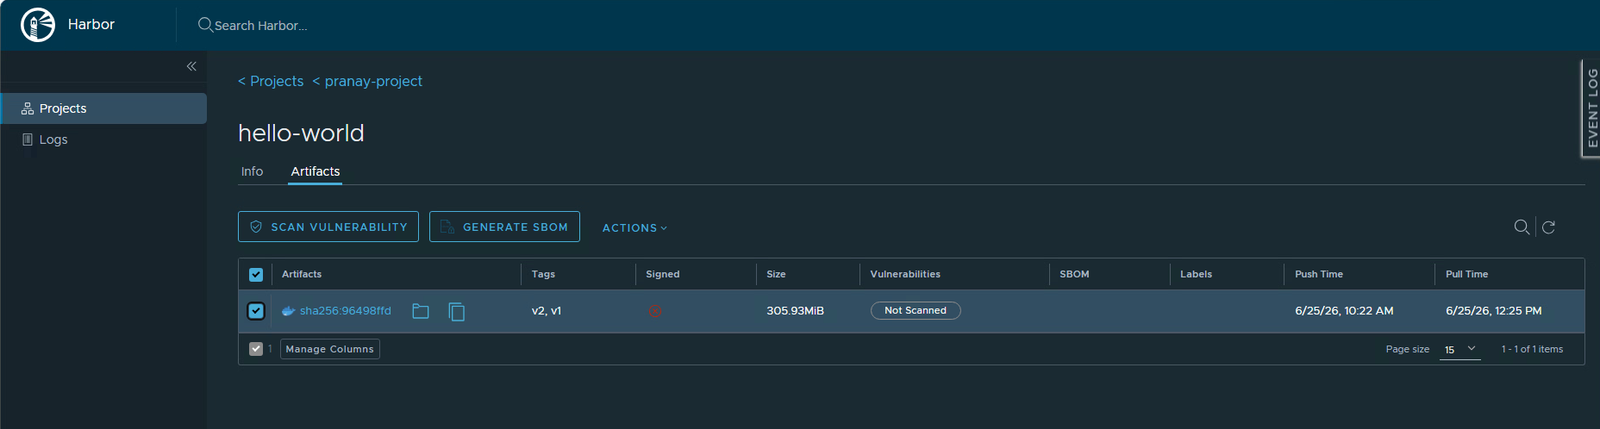
Watch it work
The Vulnerabilities column changes to Scanning while Trivy looks through the image. For a small image this takes seconds. For a big one it can take a minute or two, so give it a moment.
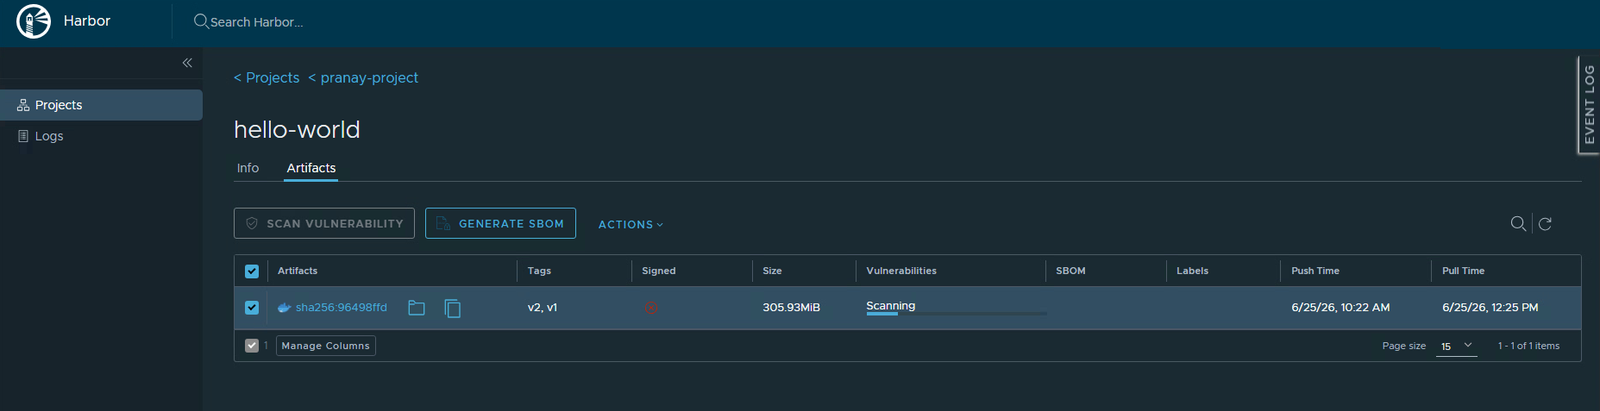
Read the result
When it finishes, the column shows the verdict. For hello-world it comes back No vulnerability, a clean bill of health.
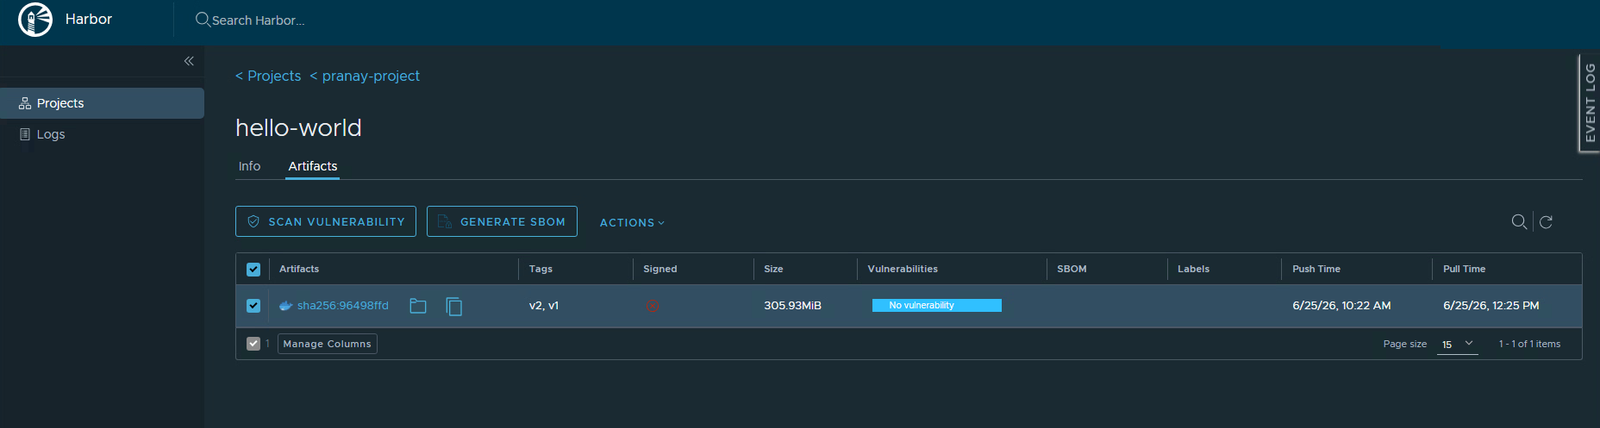
Do not be disappointed by a clean result. hello-world is about the smallest image there is, basically one tiny program and almost nothing else, so there is barely anything for a scanner to find. A clean scan here is exactly what you would expect, and it is good news.
What a report with problems looks like
Real-world images, the ones built on a full operating system with lots of libraries, almost always have something. When an image is not clean, the Vulnerabilities column shows a colored bar with counts instead of the green badge, and clicking the artifact opens the full list. Each row is one CVE, and it tells you four useful things:
- The CVE ID, the public identifier you can look up for details.
- The affected package and the version currently in your image.
- The version that fixes it, so you know what to upgrade to.
- The severity, which is the first thing to read.
Severity is your guide to what to fix first.
| Severity | What it is telling you |
|---|---|
| Critical | Fix now. Easy to exploit and serious impact. |
| High | Fix soon. A significant risk. |
| Medium | Plan to fix. Moderate risk or harder to exploit. |
| Low | Minor, often just informational. |
Want to see a real list rather than a clean one? Copy in an older image and scan that. Something like an older nginx will light up with CVEs because it carries a full set of system libraries, several of which have since had fixes. The flow is identical: select the artifact, click Scan Vulnerability, then click in to read the report.
Make scanning automatic
Pressing the button by hand is fine while you are learning, but you do not want to rely on remembering. Open your project’s Configuration tab and tick Automatically scan images on push. After that, every image gets scanned the moment it lands, so nothing ever sits in your registry unchecked.
What to remember
- Harbor scans images with a built-in tool (Trivy) that you do not have to install.
- A scan turns
Not Scannedinto either a clean badge or a count of problems by severity. - Each finding is a CVE with a package, your version, the fixed version, and a severity.
- Read Critical and High first, and turn on auto-scan so you never forget.
Next part
Part 6: stop the bad ones from running. We use what the scanner finds to block images above a severity you choose, so a risky image cannot be pulled in the first place.
Harbor for Beginners, Part 5 of 12. Product names belong to their owners.
About The Author







 DrJha
DrJha