

If you have spent your time in the VMware world, a container registry can sound like something from a different planet. Take a breath. Harbor is friendlier than it first looks, and a lot of it lines up with things you already do every day. In this first part we are just going to walk around and get our bearings. We will not change a single setting, so nothing can break. By the end you will know what Harbor is for and what each screen does.
What is Harbor?
Harbor is a place to keep container images, and for AI work, model images. An image is just an app or a model that has been packaged up and is ready to run. When your platform goes to start a model or an app, it has to grab that package from somewhere. Harbor is that somewhere. Think of it as the storeroom that everything else pulls from.
If you want it to click quickly, line it up against vSphere ideas you already use. The words are new, the concepts are not.
| Harbor calls it | You can think of it as | What it holds |
|---|---|---|
| Project | A Content Library | A named folder of images that you can lock down with permissions. |
| Repository | A template in that library | One named image, for example a single model. |
| Artifact or Tag | A version of that template | A specific build, like v1, or a unique fingerprint called a digest. |
| Robot account | A service account | A login for scripts and pipelines, so you do not hand out your own. |
How to log in
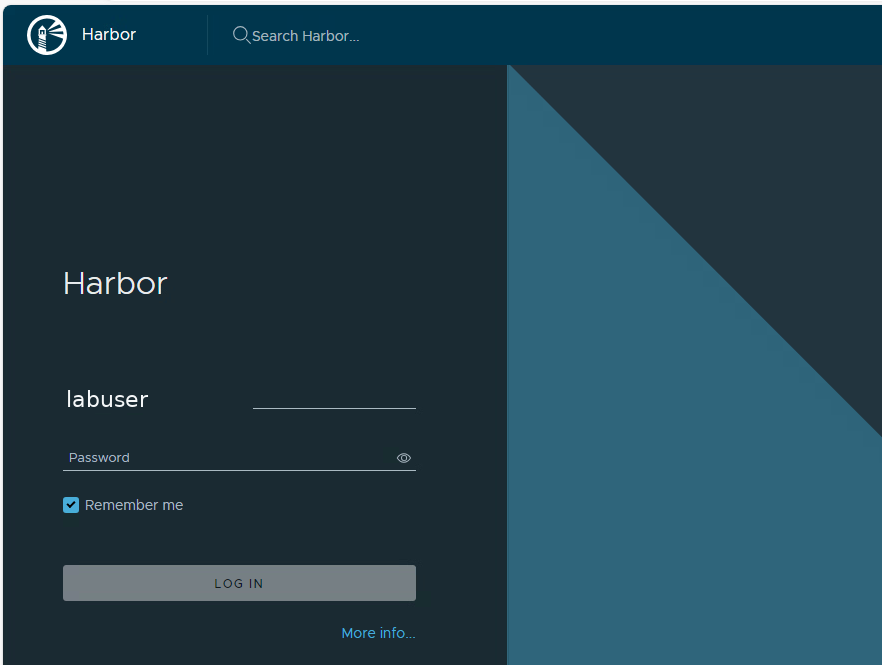
Getting in is nothing fancy. You open Harbor in a browser, type a username and password, and click Log In. There is a Remember me box, and a small More info link in the corner that takes you to the docs. That is the whole thing. If you have ever signed into a web tool, you have already done this.
The Projects page
Once you are in, you land on the Projects page. This is home, so it is worth getting comfortable here.
Glance at the top right first. Those two little boxes are a quick headcount, how many projects exist and how many repositories they hold between them. In this lab that is fifteen projects holding well over a hundred repositories, so there is already plenty in here to explore.
The big table underneath is the list of projects. Every column is telling you something handy, so let us read them once and then they will feel obvious forever.
| Column | What it is telling you |
|---|---|
| Project Name | The name of the folder. Click it to step inside. |
| Access Level | Public or Private. Public means anyone can pull from it without logging in. |
| Role | Your role in that project. A dash means you are just a visitor, not a member. |
| Type | Project for a normal one, or Proxy Cache for one that mirrors another registry. |
| Repositories Count | How many images live inside. |
| Creation Time | When it was made. |
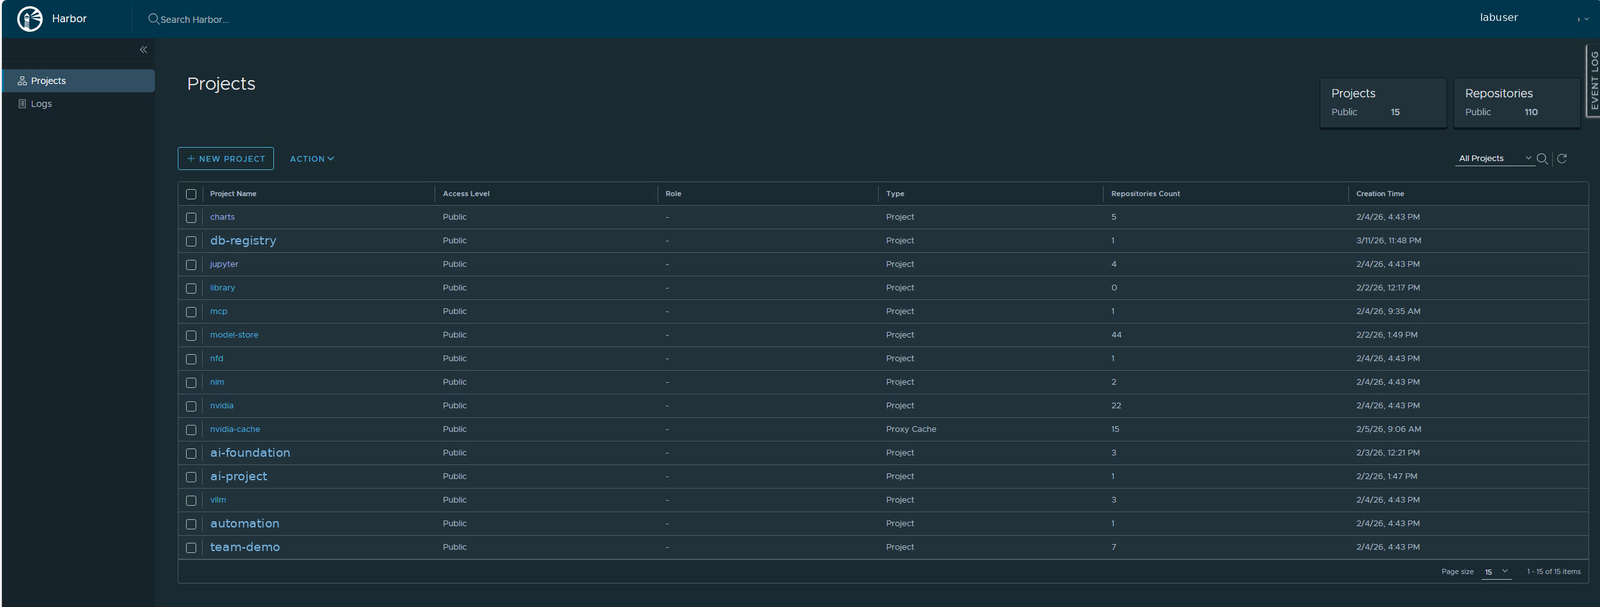
See how your Role is a dash on every row? That is completely normal on a shared system. You can wander into any public project and read it, but you cannot push images to it or change its settings, because none of them are yours. That changes in Part 2, where you make your own project and become its boss.
Opening a project
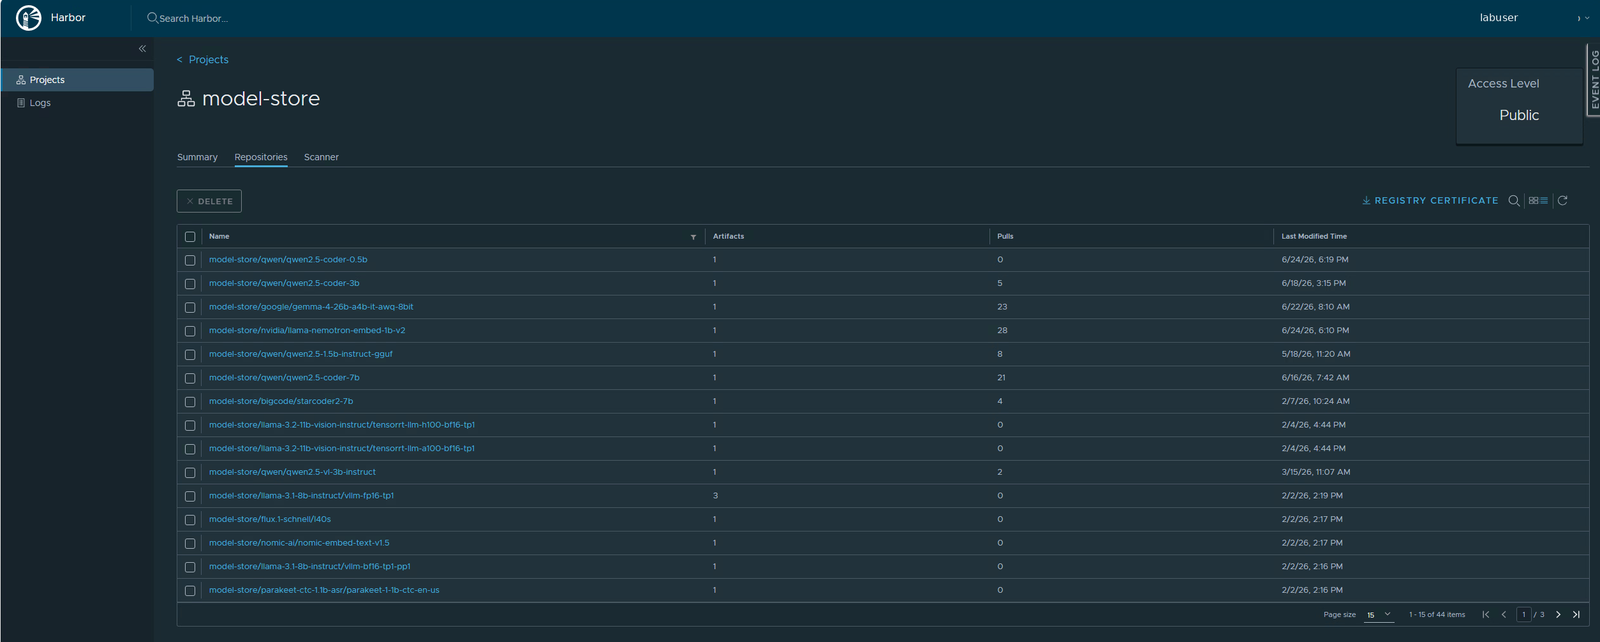
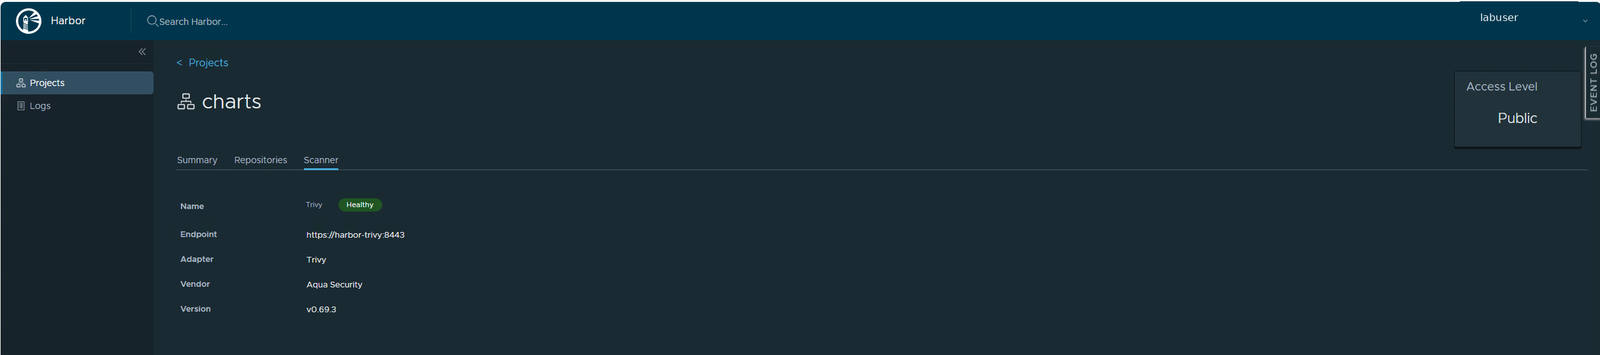
Click any project name and you drop into it. You will see a few tabs along the top: Summary, Repositories, and Scanner. Repositories is the one you will care about most. It is the actual list of images in that project, and it shows how many versions each one has, how many times it has been pulled, and when it last changed.
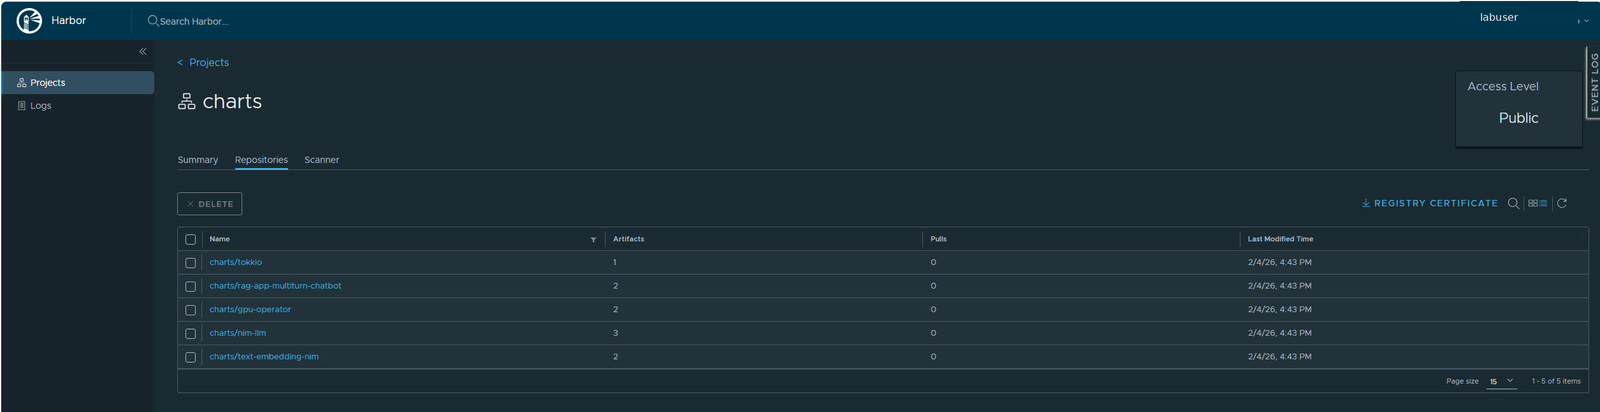
A registry built for AI fills up with names you will recognize. Open the model store and there they are, model after model sitting side by side, small chat models, coding models, vision models, ones that turn text into numbers for search, and ones that turn speech into text. This is the very shelf a model deployment reaches into when it needs an image, which is a nice way to see how the registry ties into everything else you have built.
Give the Scanner tab a quick look while you are here. Harbor ships with a built-in image scanner, and most setups plug in one called Trivy. The tab just shows its name, a little Healthy badge, and a version number. The thing to take away is simple: checking images for security problems is part of Harbor itself, not a separate tool you add on later. You will put it to work in Part 5.
The logs
The Logs link on the left is the history book. It keeps a record of who did what and when, the pushes, pulls, deletes, and setting changes. Right now it may be empty, which only means nothing has happened in the slice of time you are looking at. Once you start pushing your own images in later parts, this is where your footprints show up.

What you can do right now
Even as a visitor you can get plenty of practice without touching anything you should not:
- Wander into any public project and read its list of images.
- Open an image and look at its versions, its size, and how many times it has been pulled.
- Check a project Scanner tab and confirm it is healthy.
- Stare at the table until Public versus Private, and that Role dash, feel like second nature.
What you cannot do yet is push images or change settings. For that you need a project where you are a member, and making one is exactly what we do next.
Next part
Projects, public versus private, and creating your very first one. You will spin up a little sandbox project, become its admin, and set up the place where every hands-on step from here on will happen.
Harbor for Beginners, Part 1 of 12. Product names belong to their owners. The names and IDs in the screenshots come from a lab and are stand-ins.
About The Author







 DrJha
DrJha